Views: 0 Author: Site Editor Publish Time: 2023-07-24 Origin: Site


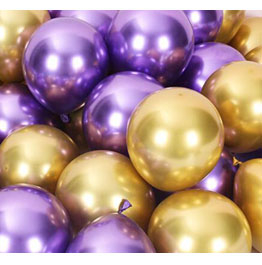
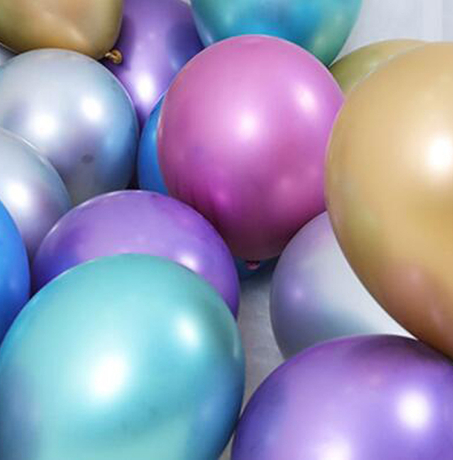
We like ALO balloon cake decorations of all shapes and sizes.
If you buy one of the following balloon kits, you can easily make one of them.
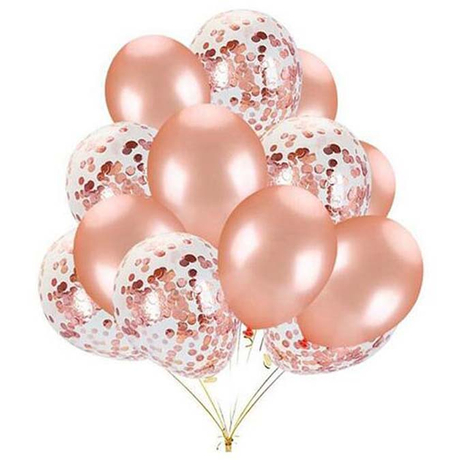
The package includes:
● 10 mini latex balloons.
● 1 paper straw.
● Make electric wire.

Blow up as many balloons as possible as your top hat (balloon pump works best).
To get the correct size and shape, blow the balloon to full size (about 5 inches wide), then slowly deflate until the balloon is 1-2 inches wide.
We found that if some balloons were smaller / different sizes looked good.
Tie up the balloon.
If your kit contains any confetti balloons, rub the balloons to encourage the confetti to stick.


Tie pairs of balloons together.
Change the color and size so that two identical things are not tied together.

Now you have a pair of balloons and wrap them around each other to form a larger bunch.
Keep twisting until you add all the balloons and you are satisfied with the shape of your balloon.

Fold the length of your wire in half so that you have a shorter wire that is twice as thick.

Pick up the top of the wire (where it folds) and hook it in the middle of a pile of balloons.
Pull it tight, and then pass the two wires through Stella.

You will now have some wires hanging from the bottom of the straw.
Pull it as tight as possible, and then wind the wire around the bottom of the straw to secure the balloon in place.

Insert the top hat into the cake to enjoy your creation!
The top hat should last for a few days.
| | No. 168, Zan West Street, Zangang Town, Xiong County, Baoding, Hebei, China |
| | +86-13473425120 |
| | aloballoon@fantastic-ocean.com |